
A clutter‑free garage can start by adding sturdy shelves along the walls. Its one of the fastest ways to reclaim floor space and keep tools, totes, and sports gear within easy reach. Whether you want to build budget‑friendly DIY garage shelves or invest in a professionally installed wall organization system, a well–planned shelving strategy will free up floor space, protect your tools, and make weekend projects less stressful.
This guide covers each stage of the process—from measuring studs to determining when a professionally installed Renuity cabinet system or wall organizer might make sense for your garage.
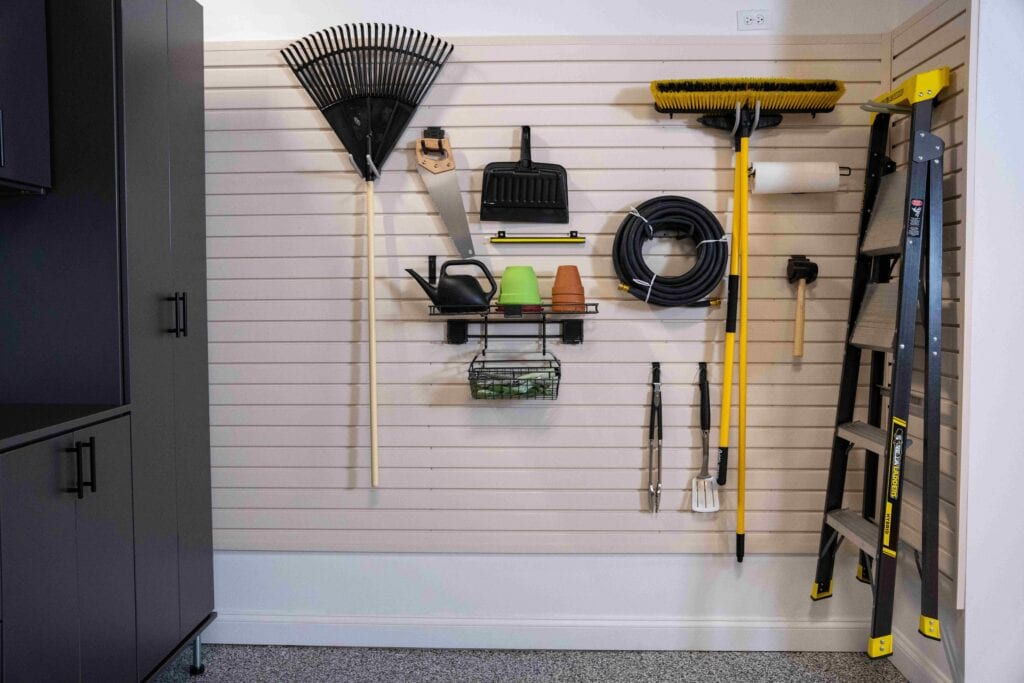
Many homeowners begin garage organization with stackable floor racks among other garage interior ideas. While these work for a while, they eventually hog valuable square footage and make sweeping, parking, and project work difficult. By contrast, wall‑mounted shelves:
Swap out those shaky floor racks for sturdy wall‑mounted shelving, and you’ll gain clear floor space plus a bird’s‑eye view of every tool and tote—no more wasted weekends hunting for hardware.
Whether you want to learn how to build garage shelves from 2x4s or are ready to purchase pre‑made steel tracks, planning prevents wasted materials and awkward layouts.
The right design depends on your tools, budget, and how often you reconfigure storage.

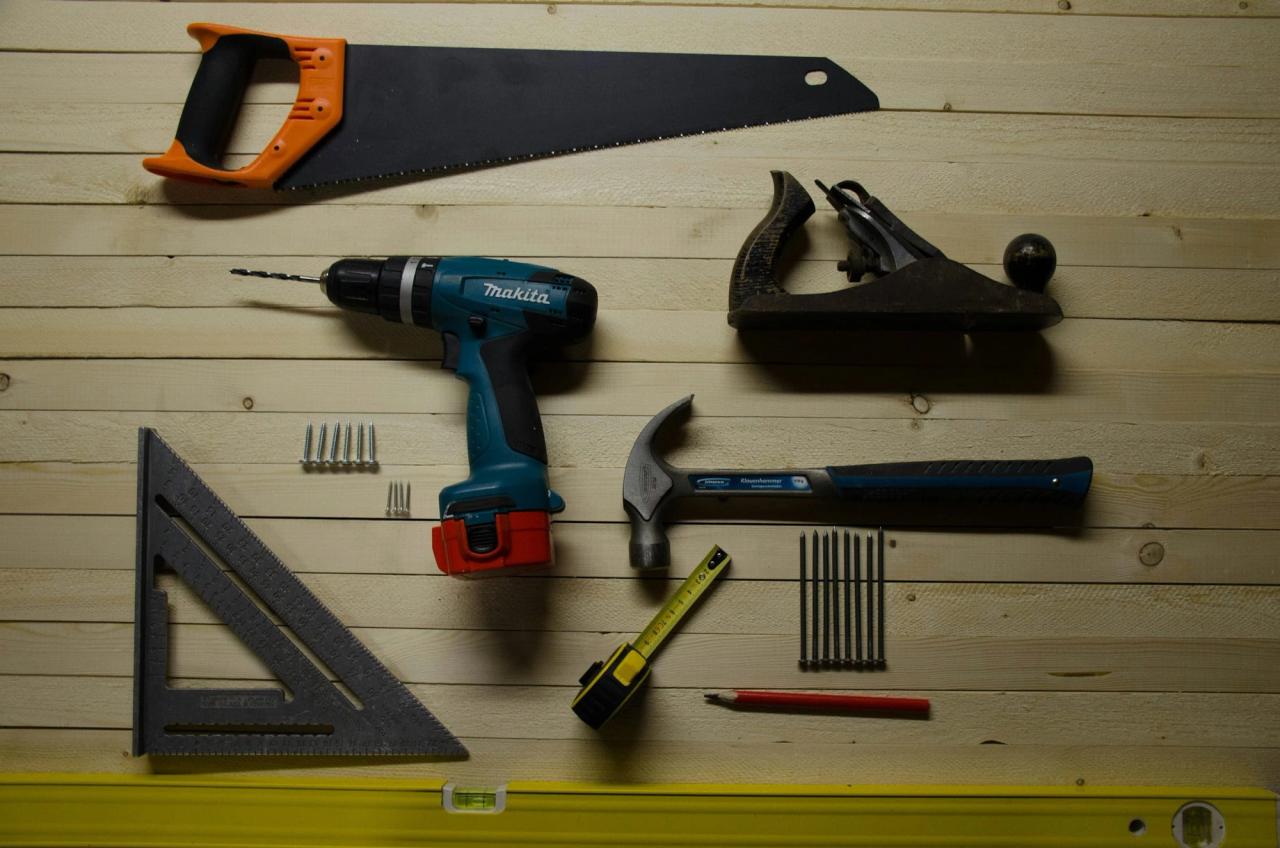
If you’re handy with basic carpentry tools, building lumber shelves is cost‑effective and surprisingly quick.
Materials (per 8‑ft section)
Tools
Cut List
Assembly Overview
Congratulations—you’ve just learned how to make garage shelving strong enough for paint cans, coolers, and seasonal décor.
Not keen on sawing lumber? Metal track systems deliver flexibility with minimal tools:
Most big‑box kits hold 150–200 lb per shelf when installed correctly. You can mix shallow and deep shelves, tilt‑out bins, or hook panels for lawn tools—all without rebuilding a frame.
If your budget allows, consider Renuity’s professional installation to guarantee code‑compliant anchoring and weight ratings.
After your shelves are up, sorting items by frequency and category keeps clutter from creeping back.
Clear totes with bold labels speed up retrieval, while color‑coded bins (red = automotive, green = gardening) guide the whole family.
DIY lumber shelves are a fantastic weekend project, but sometimes you need a turnkey solution:
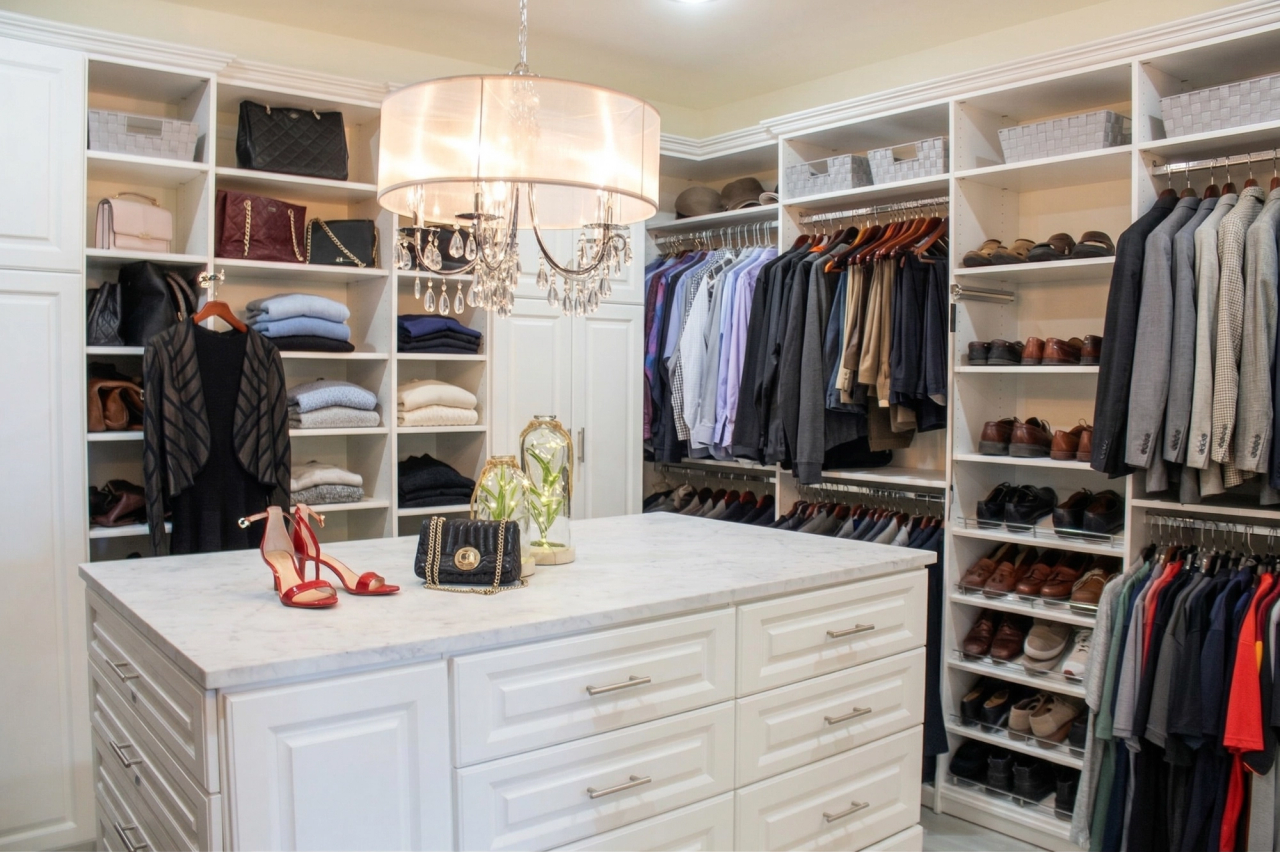
Renuity designs, manufactures, and installs custom garage storage systems that blend heavy‑duty capacity with showroom looks. Our designers map every stud, outlet, and obstacle, then propose 3‑D layouts—so you know exactly how many totes, golf bags, and toolboxes will fit before we lift a drill.
Material‑only DIY shelving is almost always the most affordable route, while track‑and‑bracket kits sit in the middle, costing a bit more in exchange for quick installation and adjustable heights. Professionally built systems—like Renuity’s wall organizers and steel cabinets—carry a higher upfront price but include heavier load ratings, powder‑coat finishes, one‑day installation by factory‑trained crews, and lifetime product warranties. If you want storage that’s built to last, enhances resale value, and eliminates trial‑and‑error tinkering, the professional route often proves itself over time.
Building DIY garage shelves is a rewarding first step toward a tidy, productive garage. Follow the planning tips above to ensure strong, level shelves that serve you for years. If your storage needs outgrow DIY solutions, Renuity is ready with factory‑built cabinets, rugged wall organizers, and overhead racks—installed by experts and backed by industry‑leading warranties.
Contact Renuity today for a free design consultation and transform your garage into a space that finally works as hard as you do.

As a content manager at Renuity, Francheska spent nearly two years helping homeowners discover the possibilities of transforming their spaces. Renuity is a leader in home remodeling, specializing in everything from windows and doors to bathrooms and home storage solutions, and she’s proud to be part of a team that prioritizes quality, innovation, and customer satisfaction. She graduated from Florida International University with a double major in International Business and Marketing, ranked among the top programs in the nation. Her passion for home improvement runs deep—since childhood, she’s been inspired by watching HGTV and seeing the magic of remodels come to life. Now, she channels that passion into connecting readers with ideas, tips, and solutions to create homes they love.
Renuity is backed by top industry ratings and trusted by homeowners nationwide for quality, service, and reliability.


Offer expires:
plus 12 months, no interest,no or low monthly payments
claim offer
Get a free, no-obligation estimate and see how easy it is to upgrade to your dream home. One of our local specialists will reach out to schedule your consultation—on your terms.
At Renuity, our greatest pride comes from the trust homeowners place in us and the lasting results we deliver. From seamless installations to transformative home upgrades, we’re committed to making every project simple, stress-free, and built to last. Our family of regional brands includes some of the most respected names in remodeling nationwide, all united by proven expertise and a shared commitment to exceptional service. See how we’ve made a difference for families nationwide and what they have to say about their experiences with Renuity.

Very professional, pleasant, ahead of schedule . Dealing with Danny Guthrie was pleasant and answered all our questions. Their were no other surprise costs. We loved the service, the contractors wer...
All the people we have dealt with from Renuity from the sales rep, office administration & the installers, have been very good to deal with. On the first day of the installation, they found dry rot un...
This was a very pleasant experience. Lance, my salesperson, was very professional and understood my concerns and needs. Blake and Sebastian, the installers of my new shower remodel, were friendly, har...
We have used Renuity Home Improvement (formerly FHIA) five different times, and every experience has been excellent. They replaced the windows in our previous two homes, completed our parents’ two hom...
We are so pleased with our new shower ! The installing crew were friendly, professional and on time. The appearance of the modern shower is so lovely. We would recommend this company 100% if you wa...
Excellent salesman Wesley was .kind, friendly and knowledgeable...great guy. The brothers were Excellent and beyond, superb work by them and they were fast with the installation. No better place to h...
We had a roof and windows installed by this company. We had 4 companies we were interviewing. FHIA was the second one we met with. Josh came to our home to present their products and servies to us. I...
Great workmanship. Great job. The workers was very professional and explained the installation. Clean up after the job was completed. I would definitely recommend this crew to anyone interest. Thanks...
Conde was very nice and professional with his work , and they kept me informed of the job as it went forward. These are nice windows that should be trouble free for a long time. They were thorough thr...
Now that windows all installed I am pleased with the work, clean up, craftsmanship of products I am pleased. Conscientious of others property. Installed with great care of surroundings. Do recommend...


