

Trusted By Over 250,000 Customers!
No Interest, No Payments for 12 months on Select Products
No Interest, No Payments for 12 months on Select Products
<em style="color: #999999;">Updated: January 9th, 2026</em>
Closet shelves are an essential part of any home, offering a convenient way to store and organize clothing, shoes, accessories, and other household items. Learning how to install shelves in a closet can help you make the most of your space while giving your closet a polished and functional look. While do-it-yourself closet shelving can be a fun and rewarding project, there are times when calling a professional ensures the best results.
Here’s a step-by-step guide to building closet shelves and how to determine if it’s time to call in the experts:
Before diving into installing closet shelves, spend time planning the layout and purpose of your storage. Whether you are building a new system from scratch or adding shelves to a closet that already exists, a well-thought-out design ensures you’re making the most of your space.
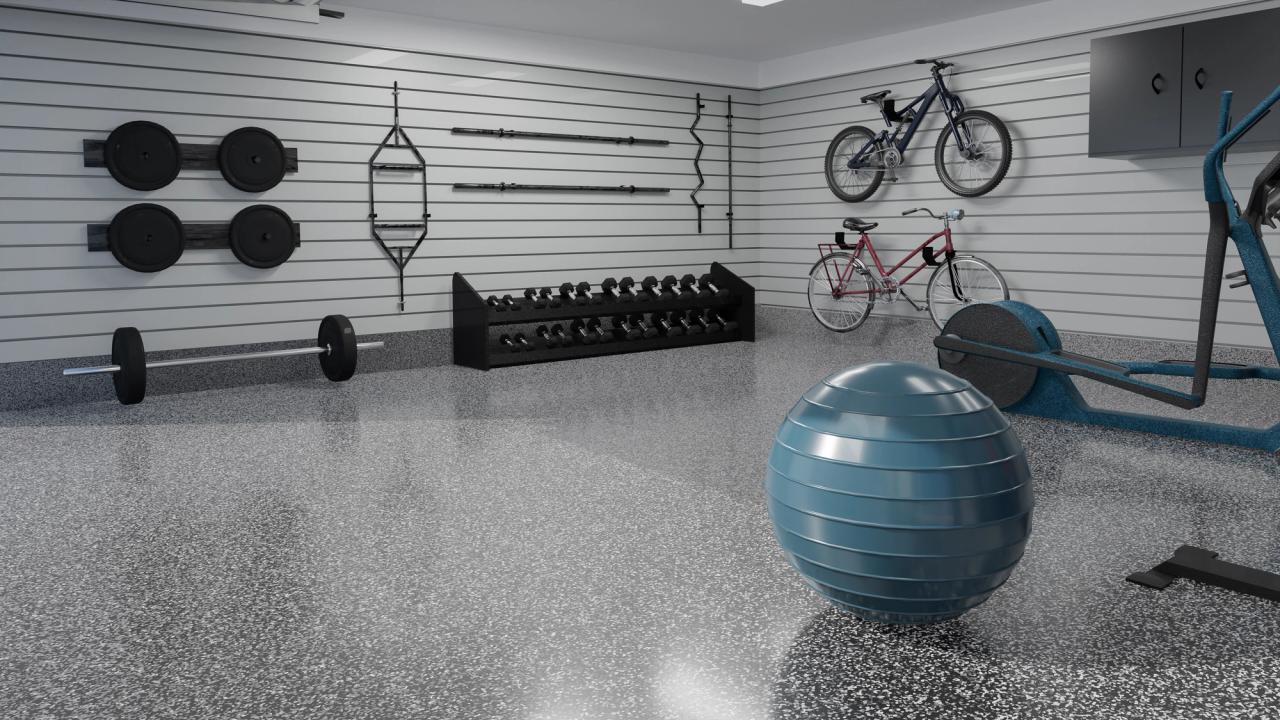
For a custom and seamless design, explore Renuity’s closet solutions, which offer tailored storage systems for any space.

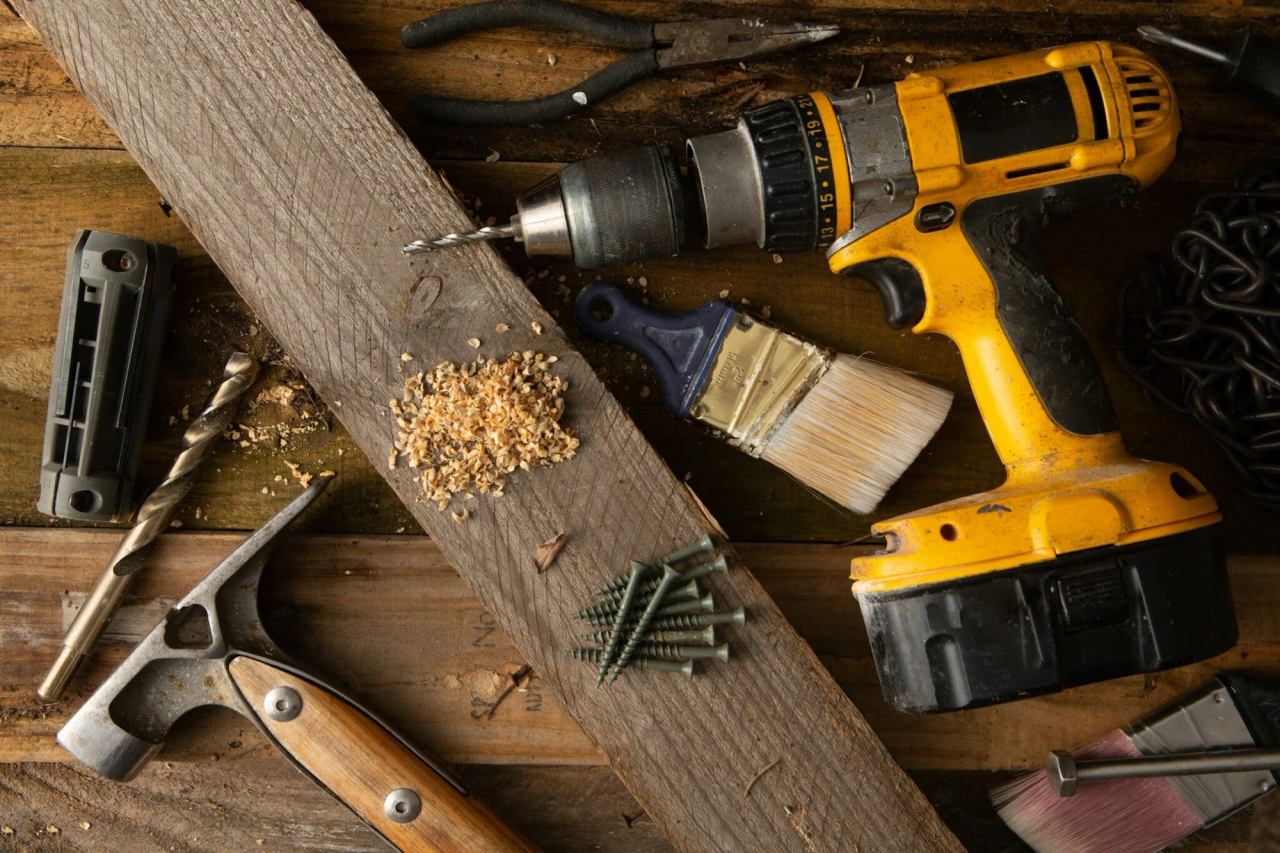
Having the right tools and materials on hand ensures a smooth installation process. Here’s a checklist to guide you:
Select your shelving material based on how you plan to use the space:
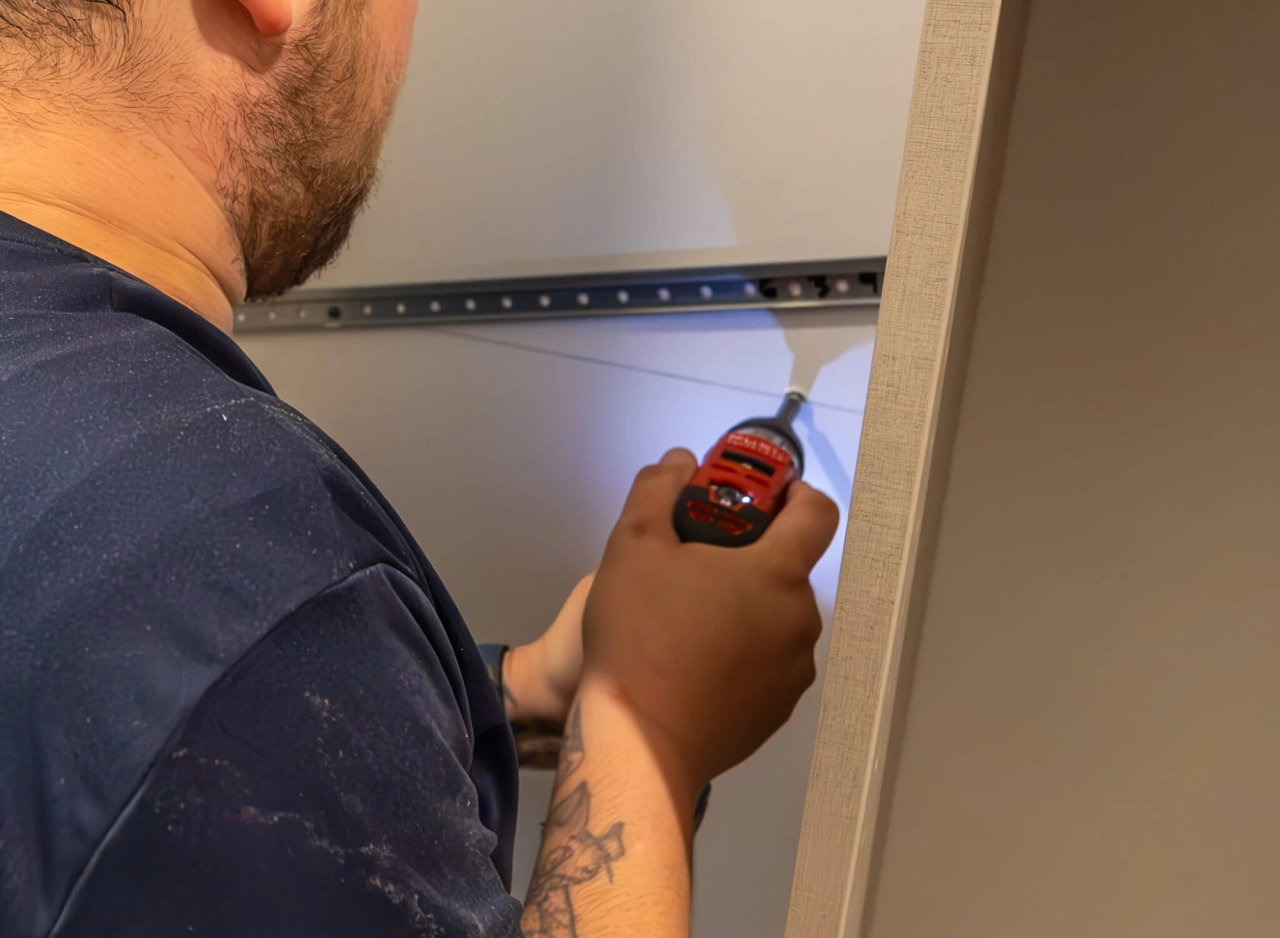
Finding and using wall studs is crucial for ensuring your shelves are stable and can support the weight of stored items. Follow these steps:
The supports form the backbone of your shelving system. Depending on your design, you may use brackets, cleats, or a track system. The most critical step in this process is knowing how to attach the shelves to the wall securely so they can bear weight without sagging.
Before installing your supports, determine if you are drilling into wood studs or hollow drywall:
Cleats are wooden strips mounted to the wall to hold shelves securely.
Track systems offer adjustable shelving and are great for closets that need flexibility.
With the supports in place, you’re ready to hang the closet shelves themselves.
Once the shelves are installed, you can enhance their functionality and appearance with a few finishing touches:

While do-it-yourself closet shelving is a satisfying project, there are scenarios where professional help is the better choice. Here’s when you might need expert assistance:
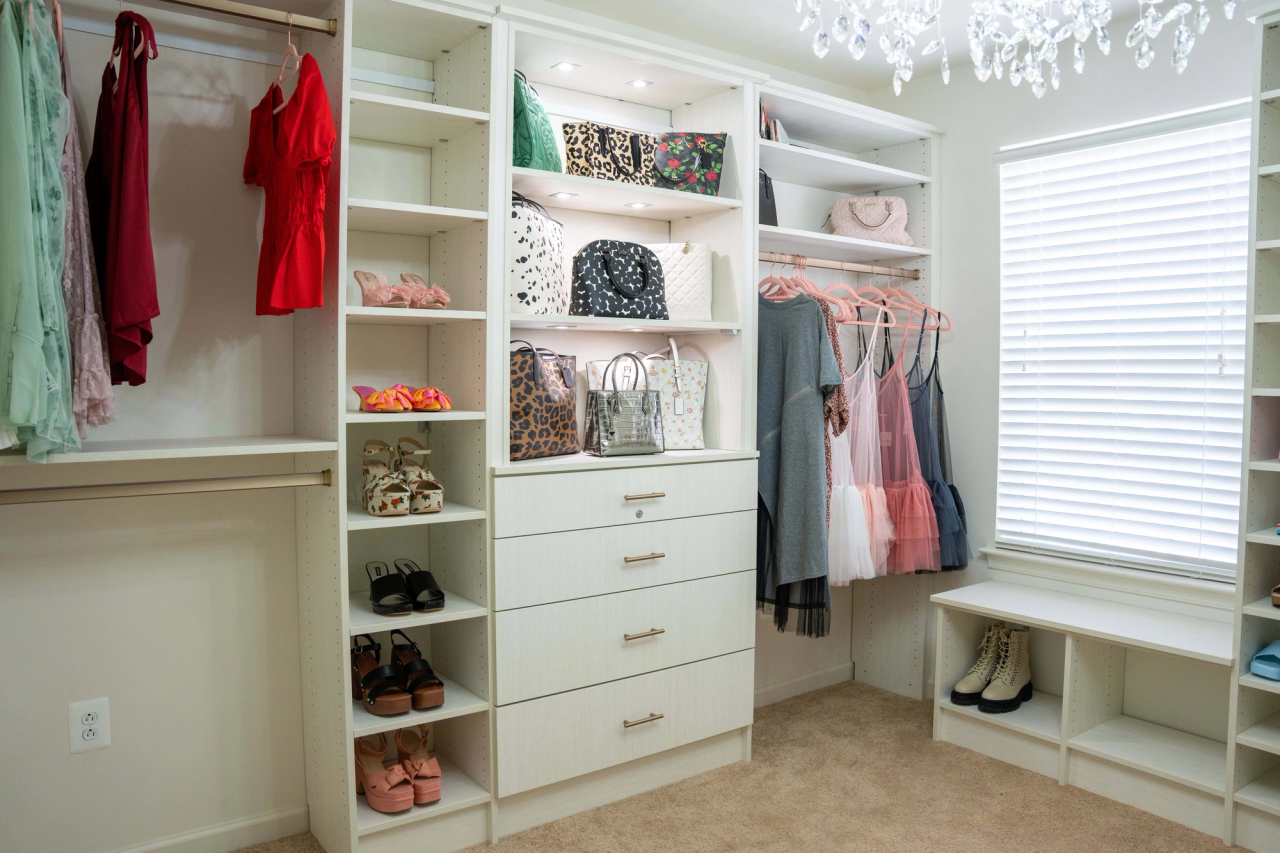
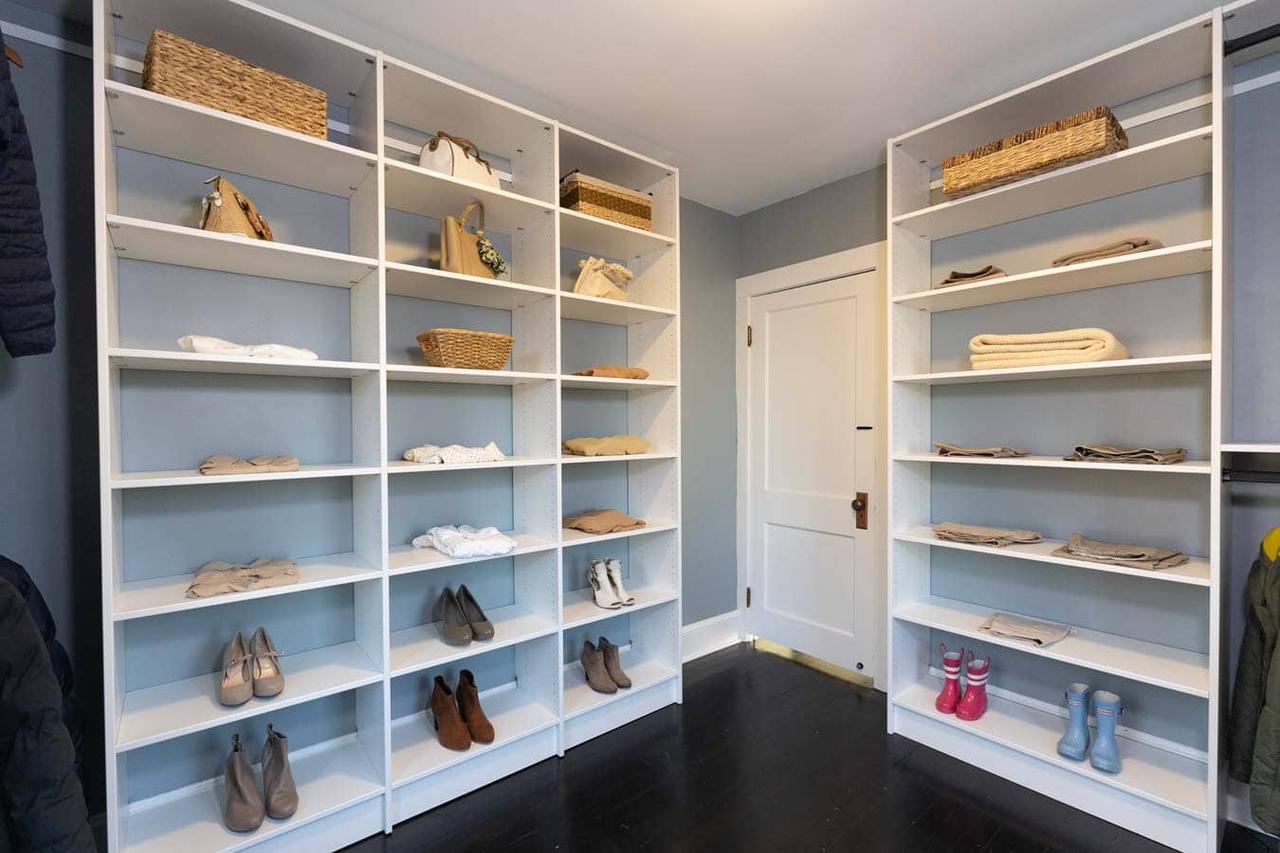
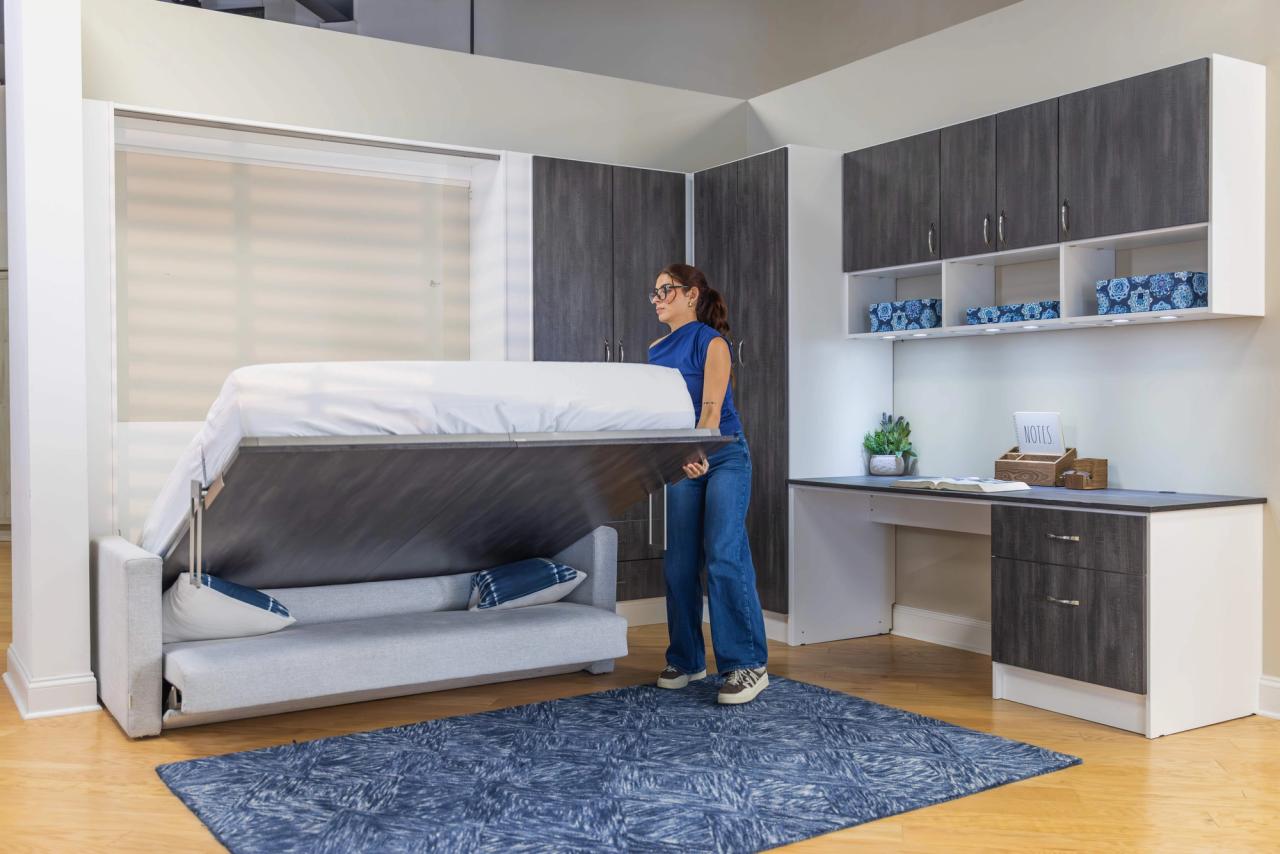
If you’re looking for a built-in system with features like drawers, shoe racks, or specialty shelving, professionals can create a design tailored to your specific needs and preferences.
Walk-in closets or spaces requiring intricate layouts may be challenging for DIYers. A professional can ensure everything fits perfectly and functions efficiently.
If your walls have uneven surfaces, insufficient support, or other complications, a professional can address these issues safely and effectively.
Installing shelves can be time-consuming, especially for larger projects. Hiring a professional ensures the work is completed quickly and with precision.
If you’re unsure whether to tackle the project yourself or hire a pro, consider these factors:
The weight capacity depends entirely on your installation method. A shelf bracket screwed directly into a wall stud can typically support 50 to 100 pounds per bracket. However, if you use drywall anchors, the capacity drops significantly to 10–20 pounds per bracket. For heavy items like textbooks or tools, always mount your supports into studs.
For general clothing storage, space your shelves 12 to 15 inches apart. If you are storing bulky items like comforters or large bins, increase the spacing to 18 inches. For shoe shelves, a spacing of 6 to 7 inches is usually sufficient.
Sagging usually occurs because the support brackets are spaced too far apart. For most materials, supports should be placed every 32 inches maximum. If you are using particleboard or wire shelving for heavy loads, place a support every 16 to 24 inches to prevent bowing.
Yes, but you must use the correct hardware. Standard plastic wall plugs will pull out under load. Instead, use heavy-duty toggle bolts or strap toggles, which expand behind the drywall to distribute the weight. However, we highly recommend finding at least one stud for the main structural support.

Knowing how to put shelves in a closet can save you money and provide a sense of accomplishment. With the right tools, careful planning, and attention to detail, do-it-yourself closet shelving can be a manageable project. However, for complex designs or large-scale installations, calling a professional can ensure your closet meets your needs while looking polished and professional.
Whether you’re ready to tackle a DIY project or looking for expert assistance, creating an organized, functional closet is within reach. Contact Renuity for tailored storage solutions that elevate your space.

As a content manager at Renuity, Francheska spent nearly two years helping homeowners discover the possibilities of transforming their spaces. Renuity is a leader in home remodeling, specializing in everything from windows and doors to bathrooms and home storage solutions, and she’s proud to be part of a team that prioritizes quality, innovation, and customer satisfaction. She graduated from Florida International University with a double major in International Business and Marketing, ranked among the top programs in the nation. Her passion for home improvement runs deep—since childhood, she’s been inspired by watching HGTV and seeing the magic of remodels come to life. Now, she channels that passion into connecting readers with ideas, tips, and solutions to create homes they love.
Renuity is backed by top industry ratings and trusted by homeowners nationwide for quality, service, and reliability.


Offer expires:
plus 12 months, no interest,no or low monthly payments
claim offer
Get a free, no-obligation estimate and see how easy it is to upgrade to your dream home. One of our local specialists will reach out to schedule your consultation—on your terms.
At Renuity, our greatest pride comes from the trust homeowners place in us and the lasting results we deliver. From seamless installations to transformative home upgrades, we’re committed to making every project simple, stress-free, and built to last. Our family of regional brands includes some of the most respected names in remodeling nationwide, all united by proven expertise and a shared commitment to exceptional service. See how we’ve made a difference for families nationwide and what they have to say about their experiences with Renuity.

Very professional, pleasant, ahead of schedule . Dealing with Danny Guthrie was pleasant and answered all our questions. Their were no other surprise costs. We loved the service, the contractors wer...
All the people we have dealt with from Renuity from the sales rep, office administration & the installers, have been very good to deal with. On the first day of the installation, they found dry rot un...
This was a very pleasant experience. Lance, my salesperson, was very professional and understood my concerns and needs. Blake and Sebastian, the installers of my new shower remodel, were friendly, har...
We have used Renuity Home Improvement (formerly FHIA) five different times, and every experience has been excellent. They replaced the windows in our previous two homes, completed our parents’ two hom...
We are so pleased with our new shower ! The installing crew were friendly, professional and on time. The appearance of the modern shower is so lovely. We would recommend this company 100% if you wa...
Excellent salesman Wesley was .kind, friendly and knowledgeable...great guy. The brothers were Excellent and beyond, superb work by them and they were fast with the installation. No better place to h...
We had a roof and windows installed by this company. We had 4 companies we were interviewing. FHIA was the second one we met with. Josh came to our home to present their products and servies to us. I...
Great workmanship. Great job. The workers was very professional and explained the installation. Clean up after the job was completed. I would definitely recommend this crew to anyone interest. Thanks...
Conde was very nice and professional with his work , and they kept me informed of the job as it went forward. These are nice windows that should be trouble free for a long time. They were thorough thr...
Now that windows all installed I am pleased with the work, clean up, craftsmanship of products I am pleased. Conscientious of others property. Installed with great care of surroundings. Do recommend...

